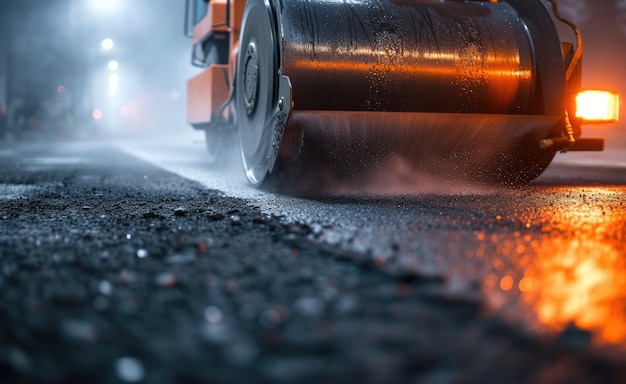
Maintaining an asphalt driveway is essential for preserving curb appeal and preventing costly structural damage. Small cracks and surface depressions can quickly expand if left unattended, but many homeowners are capable of handling a patch repair without hiring a contractor. This guide walks through the tools, materials, and step-by-step process needed to perform an effective asphalt driveway patch repair yourself, ensuring a durable, smooth finish that blends seamlessly with the surrounding pavement.
Materials and Tools Required
- Cold-mix asphalt patching compound (compatible with existing surface)
- Stiff-bristle broom or wire brush
- Pressure washer or garden hose
- Utility knife or asphalt saw
- Hand tamper or plate compactor
- Protective gloves, safety glasses, and a dust mask
- Edge feathering tool or trowel
- Sealant (optional for added protection)
Preparation Steps
1. Clean the Damaged Area
Begin by removing loose debris, dirt, and any deteriorated asphalt. A pressure washer works best for eliminating embedded particles; otherwise, a garden hose with a high-pressure nozzle will suffice. After washing, allow the surface to dry completely, typically 30-45 minutes on a sunny day.
2. Trim and Shape the Crack or Hole
Use a utility knife or an asphalt saw to cut the edges of the damage into a rectangular or V-shaped profile. This shape promotes better bonding of the patch material. Remove any remaining fragments with a broom, then sweep the area clean once more.
3. Feather the Edges
Feathering creates a gradual transition between old and new asphalt. Lightly chisel the surrounding pavement to a depth of about ½ inch, extending 6-8 inches outward from the defect. This step improves adhesion and reduces the risk of future cracking.
Applying the Asphalt Patch
1. Mix the Cold-Mix Compound
Follow the manufacturer’s instructions to achieve a workable consistency. Typically, the mix should be damp but not overly watery, similar to a thick mud.
2. Fill the Prepared Cavity
Pour the mixture into the cavity, slightly overfilling to allow for compaction. Use a trowel to spread the material evenly, ensuring it reaches the feathered edges.
3. Compact the Patch
Compact the patch with a hand tamper for small areas or a plate compactor for larger repairs. Apply firm, even pressure in overlapping passes until the surface is level with the surrounding pavement. Proper compaction is critical for longevity.
4. Seal the Repair (Optional)
Applying a thin coat of sealant over the patched area can protect against water infiltration and UV damage. Allow the sealant to cure according to product guidelines before reopening the driveway to traffic.
Post-Repair Care and Maintenance
- Keep the repaired section free of heavy vehicles for at least 24-48 hours.
- Inspect the patch monthly for signs of cracking or settlement.
- Schedule regular driveway cleaning to prevent oil stains and debris buildup.
- Consider a full driveway sealcoat every 2-3 years for added protection.
Common Mistakes to Avoid
- Skipping the feathering step: Leads to poor bonding and future cracks.
- Using hot-mix asphalt for small patches: Difficult to handle and may cause uneven surfaces.
- Insufficient compaction: Results in a weak patch that settles under traffic.
- Neglecting moisture control: Water trapped under the patch can cause spalling.
When to Call a Professional
If the damage spans more than 12 inches, involves extensive cracking, or if the base layers appear compromised, professional intervention is advisable. Detailed guidance on comprehensive driveway repair can be found in specialized resources such as Discover expert strategies here. These sources outline advanced techniques and equipment that go beyond DIY capabilities.
Additional Resources
For homeowners seeking deeper insight into asphalt maintenance, there are several valuable references. Detailed explanations of material selection, climate considerations, and long-term care plans are available at Learn about our tailored solutions. This information helps ensure that each repair aligns with best practices and local environmental factors.
Finally, a collection of step-by-step tutorials and visual guides can be accessed via Explore advanced guides and tips. Leveraging these resources can boost confidence and improve the quality of DIY repairs, extending the lifespan of the driveway for years to come.