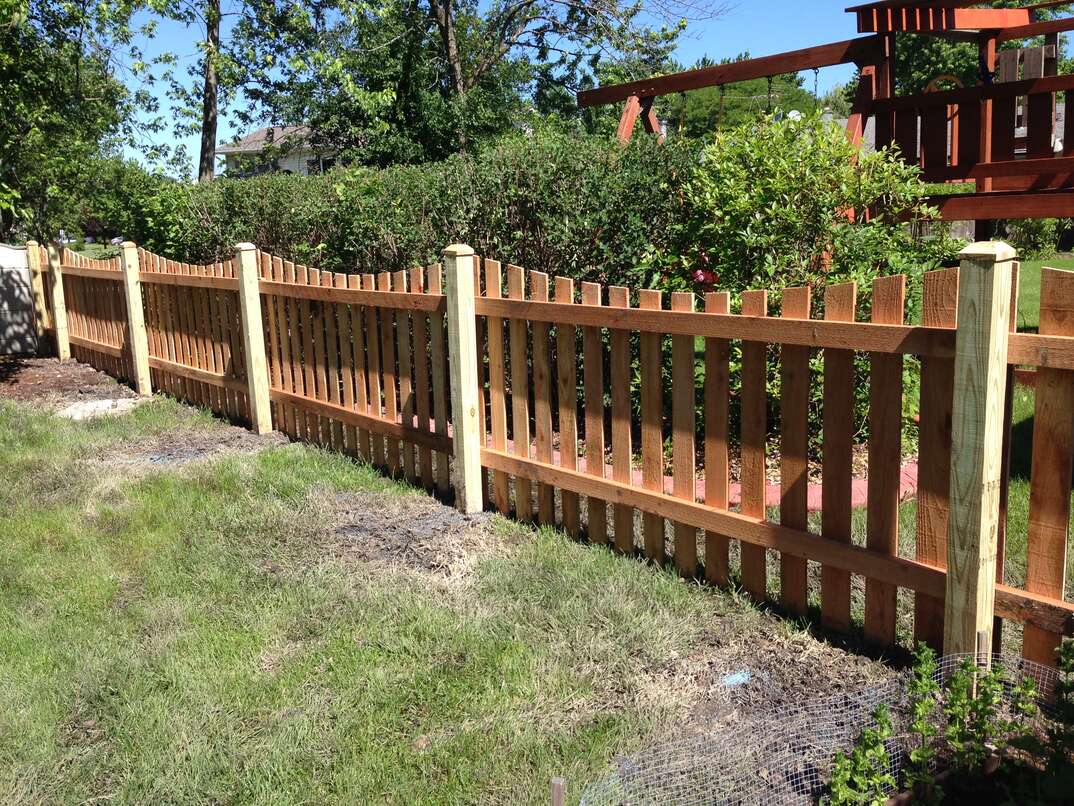
Installing a wood fence panel installation can add privacy and charm to your property while increasing its value. With the right tools, materials, and a bit of know-how, you can easily tackle this project yourself. Follow this step-by-step guide to learn how to install a wood fence panel like a pro.
Materials and Tools You'll Need
Materials:
- Wood fence panels
- Fence posts
- Gravel
- Concrete mix
- Nails or screws
- Wood sealant or paint
Tools:
- Post hole digger
- Level
- Tape measure
- Hammer or screwdriver
- Saw
- Drill
- Paintbrush
Step 1: Planning and Preparation
Before you start digging holes and installing fence panels, it's essential to plan out your project carefully:
- Check local regulations and obtain any necessary permits.
- Determine the fence line and mark it with stakes and string.
- Calculate the number of fence panels and posts needed.
Step 2: Digging Fence Post Holes
Properly spaced and aligned fence posts are crucial for a sturdy and straight fence. Follow these steps to dig your post holes:
- Use a post hole digger to dig holes at least one-third the height of the fence post.
- Add gravel to the bottom of each hole for drainage.
- Place the fence post in the hole and use a level to ensure it is straight.
- Fill the hole with a concrete mix and let it cure according to the manufacturer's instructions.
Step 3: Installing Fence Panels
Once your fence posts are set, it's time to install the wood fence panels:
- Measure the distance between two posts to determine the length of the fence panel.
- Cut the fence panel to size if necessary.
- Attach the fence panel to the posts using nails or screws.
- Use a level to ensure the panel is straight and adjust if needed.
- Repeat the process for each fence panel until the entire fence is complete.
Step 4: Finishing Touches
After all the fence panels are installed, it's time to add the finishing touches to your wood fence:
- Apply a wood sealant or paint to protect the fence from the elements.
- Trim any excess length from the fence posts.
- Add decorative elements such as post caps or lattice panels if desired.
Maintenance Tips
Proper maintenance is essential to ensure your wood fence lasts for years to come. Here are some tips to keep your fence looking its best:
- Inspect the fence regularly for signs of damage or wear.
- Repair loose or damaged panels promptly.
- Reapply wood sealant or paint every 2-3 years to protect the wood.
- Trim any vegetation growing near the fence to prevent damage.
Conclusion
Installing a wood fence panel can be a rewarding DIY project that enhances the beauty and functionality of your outdoor space. By following this step-by-step guide and taking proper care of your fence, you can enjoy the privacy and security it provides for many years to come.