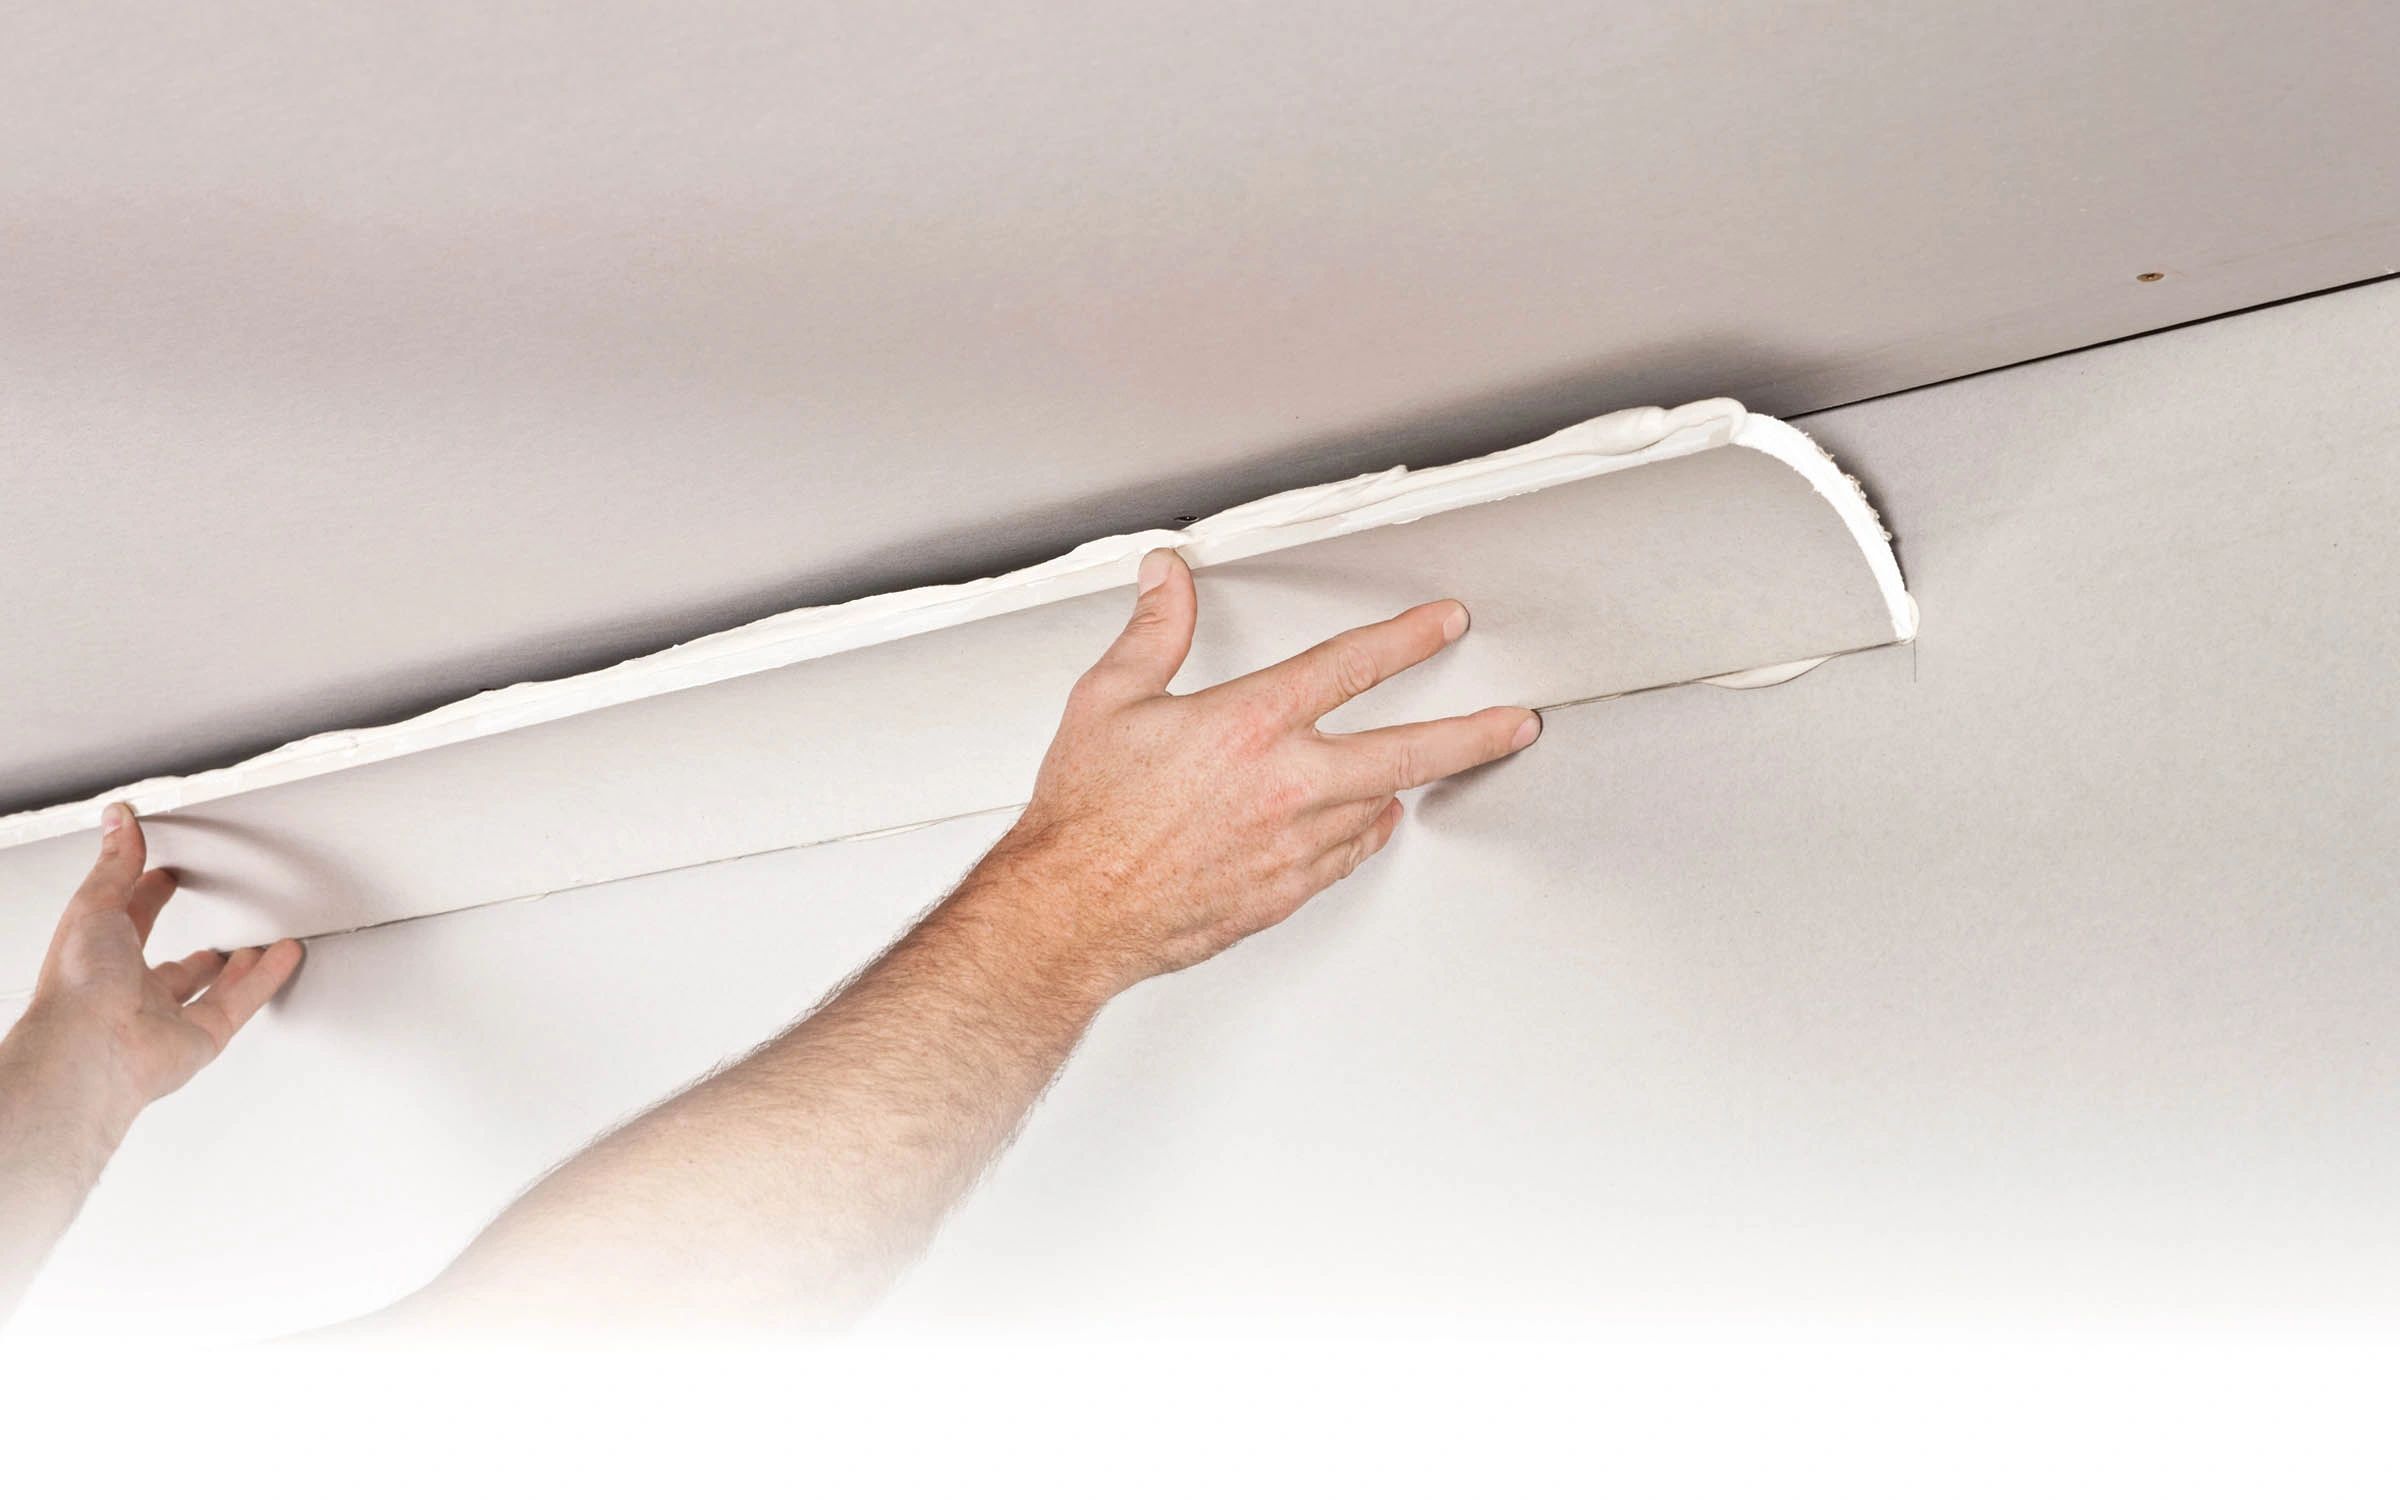
Repairing plasterboard can seem intimidating, especially when dealing with large patches. However, with the right tools and techniques, it is possible to achieve a seamless finish. This guide offers insightful tips on how to effectively use large plasterboard repair patches, ensuring a professional result every time. Whether you’re a DIY enthusiast or new to home repairs, understanding the process can save time and prevent common mistakes.
Understanding Plasterboard Repair Patches
Plasterboard repair patches are designed to cover and repair holes or damages in walls seamlessly. They are particularly useful for large repairs where traditional methods may not suffice. Here’s what makes them essential:
- Easy to apply and adjust to various wall sizes.
- Provide a smooth surface ready for painting.
- Durable and long-lasting when applied correctly.
Explore advanced guides and tips on using plasterboard patches here.
Tools and Materials Needed
Before starting your repair, ensure you have the necessary tools and materials on hand. This will streamline the process and help achieve the best results.
- Plasterboard repair patch.
- Joint compound or plaster.
- Putty knife or trowel.
- Sandpaper or sanding block.
- Paint and primer (for finishing).
Find out more about this approach by reviewing tailored solutions available here.
Step-by-Step Guide to Using Repair Patches
Preparation
Proper preparation is crucial for a successful repair. Ensure the area is clean and free from dust and debris. For seamless adhesion, lightly sand the edges of the hole.
Patch Application
Follow these steps for applying the plasterboard repair patch:
- Cut the patch to fit over the hole, leaving a small margin for overlap.
- Apply the patch over the hole, pressing firmly to ensure adhesion.
- Use a putty knife to smooth out any air bubbles or creases.
Finishing Touches
After the patch is applied, it’s time to finish the surface:
- Apply a thin layer of joint compound over the patch, feathering the edges to blend with the wall surface.
- Allow the compound to dry completely, then sand it smooth.
- Apply a second coat if necessary, sanding again once dry.
- Prime and paint the repaired area to match the surrounding wall.
Discover expert strategies for achieving a flawless finish here.
Common Mistakes to Avoid
To ensure the repair is effective, avoid these common pitfalls:
- Skipping surface preparation, which can lead to poor adhesion.
- Applying excessive joint compound, resulting in uneven surfaces.
- Neglecting to smooth and sand between coats.
Learn about tailored solutions to avoid these mistakes here.
Conclusion
Using large plasterboard repair patches can transform the look of a damaged wall, restoring it to its original state. By following the guidelines provided, you can achieve a professional-quality repair that blends seamlessly with the rest of the space. For further insights and advanced techniques, explore additional resources available online.