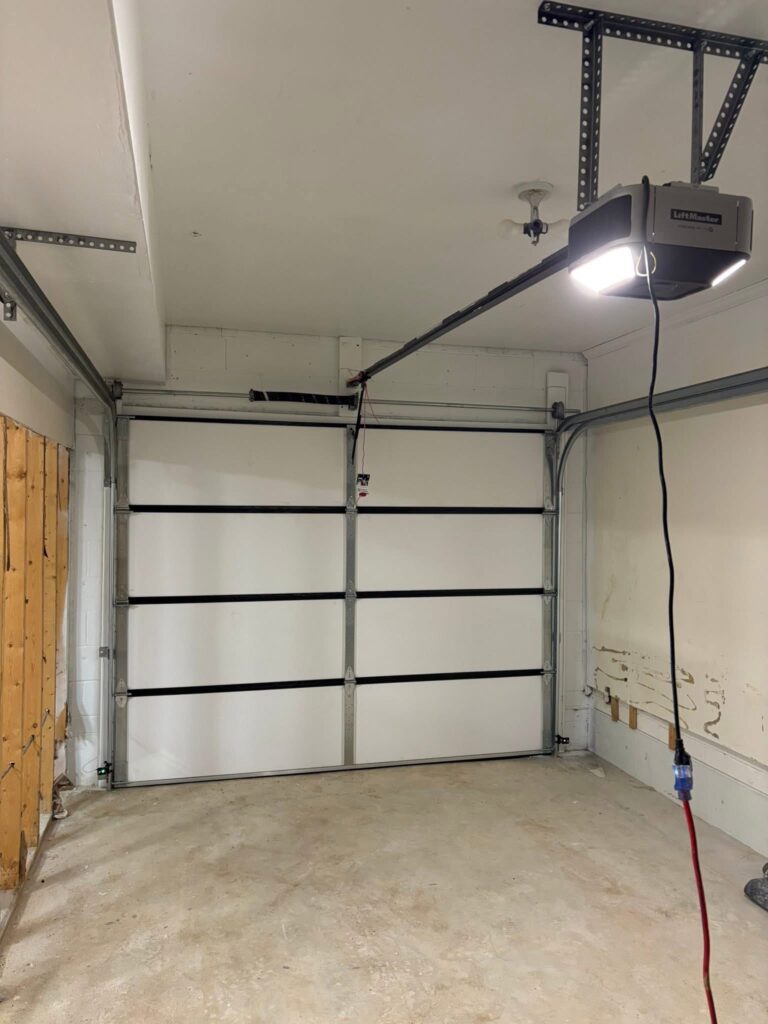
Replacing garage door springs is one of the most critical maintenance tasks for any residential or commercial property. When springs fail, the door can become difficult to lift, operate unevenly, or even pose a safety hazard. A systematic, step-by-step approach not only ensures a smooth replacement but also extends the life of the entire door system. This guide walks you through the preparation, safety precautions, removal, installation, and final testing phases, providing the knowledge needed to complete a successful garage spring replacement project with confidence.
1. Planning and Preparation
Assess the Situation
- Identify the type of springs (torsion vs. extension) and note the manufacturer’s specifications.
- Measure the wire size, length, and coil count to match the replacement exactly.
- Check for additional wear on cables, rollers, and the opener mechanism.
Gather the Right Tools
- Safety glasses and heavy-duty gloves.
- Winding bars (specifically rated for the spring’s torque).
- Adjustable wrenches, socket set, and a sturdy ladder.
- Locking pliers or C-clamps to secure the door during work.
- Manufacturer-approved replacement springs.
Safety First
Improper handling of garage door springs can result in serious injury. Follow these safety rules before starting:
- Disconnect the garage door opener and unplug the power source.
- Secure the door in the fully closed position using locking pliers on the track.
- Never attempt to adjust a spring while the door is under tension.
- Work with a partner whenever possible to manage heavy components.
2. Removing the Existing Springs
Release Tension Safely
For torsion springs, insert a winding bar into the winding cone and carefully unwind the spring in the opposite direction of its tension. Each ?? turn reduces the tension incrementally. Extension springs are released by removing the brackets that hold the spring’s ends, allowing the spring to unwind naturally.
Detach the Springs
- Unscrew the spring’s mounting brackets from the header bracket or track.
- Remove any safety cables that may be attached to the spring.
- Label each spring (left vs. right) to avoid confusion during re-installation.
3. Installing New Springs
Position the New Springs
Place the new springs on the header bracket, ensuring the winding direction matches the original specifications. Align the center bearing and attach the shaft securely.
Wind the Springs
- Insert a winding bar into the winding cone.
- Rotate the bar in the correct direction (typically clockwise) the required number of turns, usually indicated on the spring label.
- Periodically check the tension with a spring gauge if available.
Secure All Connections
Fasten the mounting brackets tightly, re-attach safety cables, and ensure the spring’s ends are seated correctly in the brackets. Double-check that all bolts are torqued to the manufacturer’s recommended settings.
4. Testing and Fine-Tuning
Re-connect the Opener
Plug the garage door opener back in and engage the manual release to test the door’s balance. The door should lift smoothly and stay in place when halfway open.
Adjust the Balance
- If the door drifts up or down, slightly unwind or tighten the springs by one-quarter turn.
- Repeat the test after each adjustment until the door remains level at the midpoint.
Final Safety Check
Run the door through several open/close cycles. Listen for unusual noises, observe the alignment of the tracks, and verify that the opener’s limit settings are correct. A properly balanced door reduces wear on the opener and extends the life of the spring set.
5. When to Call a Professional
While many homeowners can successfully replace garage springs with the right tools and knowledge, certain situations warrant expert assistance. Complex torsion systems, unusually high-tension springs, or signs of structural damage should be evaluated by a qualified technician. For those who prefer peace of mind, a reputable garage door spring replacement service can handle the job quickly and safely.
6. Maintenance Tips to Extend Spring Life
- Lubricate springs and moving parts twice a year with a silicone-based spray.
- Inspect cables, rollers, and the opener’s travel limits during each seasonal check.
- Balance the door annually; a door that is out of balance places extra strain on the springs.
- Replace springs as a set; installing a single new spring on an older set can lead to uneven wear.
Regular upkeep not only prevents unexpected failures but also maximizes the return on the investment made in a quality garage spring replacement. By following the steps outlined above, homeowners can approach the project with confidence, ensuring a safe, reliable, and smoothly operating garage door for years to come.